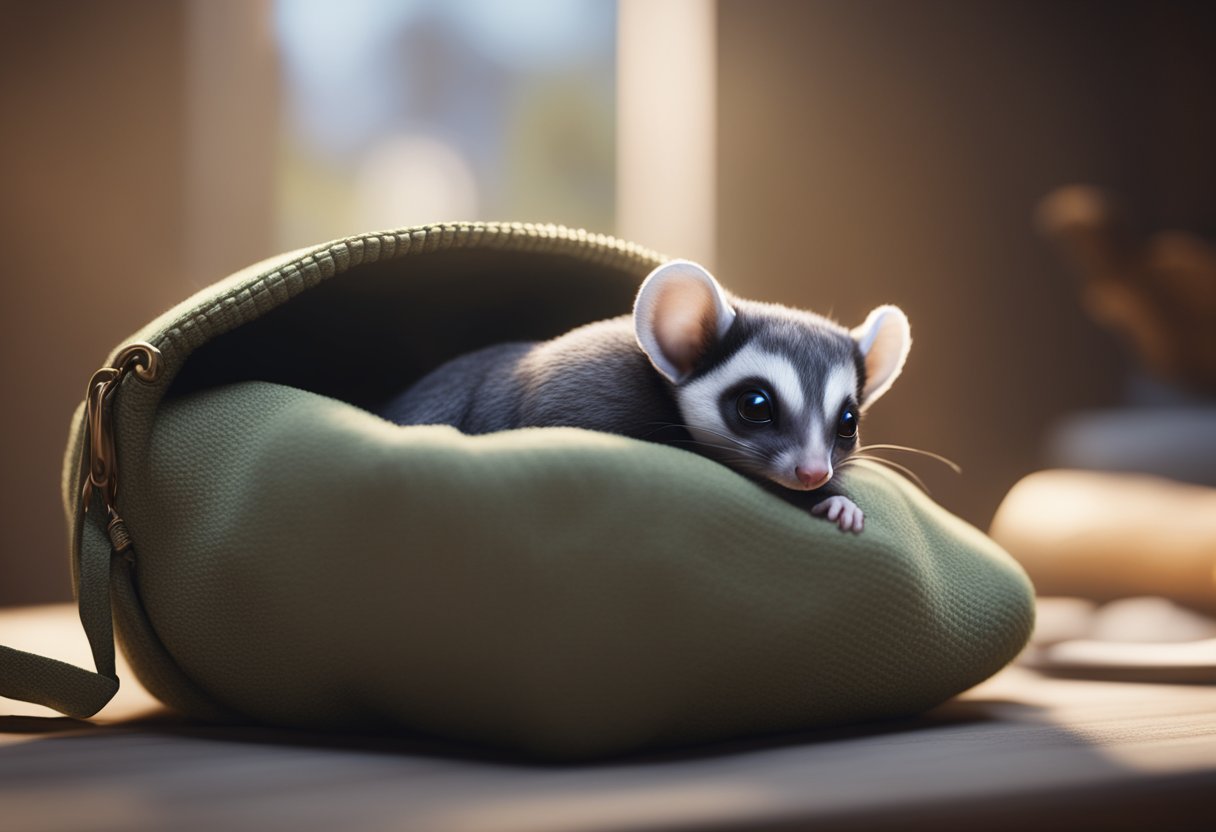
Easy Steps for Making a Sugar Glider Sleep Pouch
Did you know that sugar gliders spend up to 18 hours a day sleeping? Providing your furry companion with a cozy and comfortable sleep pouch is essential for their well-being. This comprehensive guide will walk you through the easy steps to create a custom sleep pouch for your beloved sugar glider. By making a personalized sleep sack, you can give your sugar glider a sense of security, warmth, and familiarity, helping them feel at ease and promoting healthy sleep habits. This DIY project is an affordable and personalized way to enhance your sugar glider’s living space and overall well-being.
Making a Sugar Glider Sleep Pouch
Crafting a cozy and comfortable sleep pouch for your sugar glider is a rewarding DIY project that can greatly enhance their living environment. In this section, we’ll delve into the essential materials needed to create the perfect sugar glider hideaway, as well as the importance of choosing the right fabric for your pet’s snuggle sack.
Materials Needed for a Cozy Sugar Glider Hideaway
To get started with making a sugar glider sleep pouch, you’ll need a few key supplies. These include soft, breathable fabrics like fleece or cotton, high-quality thread, scissors, a sewing machine, and any desired decorative elements like ribbons or patches. The size and shape of the pouch should be tailored to your sugar glider’s specific needs, ensuring they have ample space to curl up and feel secure.
Choosing the Right Fabric for Your Sugar Glider’s Snuggle Sack
The fabric you select for your sugar glider’s sleep pouch is crucial. It should be soft, hypoallergenic, and durable enough to withstand your pet’s natural instincts to chew and burrow. Fabrics like flannel, velvet, or microfleece are excellent choices, as they provide the perfect balance of comfort and resilience. Additionally, consider choosing fabrics in calming, natural colors or patterns that will help your sugar glider feel at ease in their sleeping environment.
Why Sugar Gliders Need a Nesting Pouch
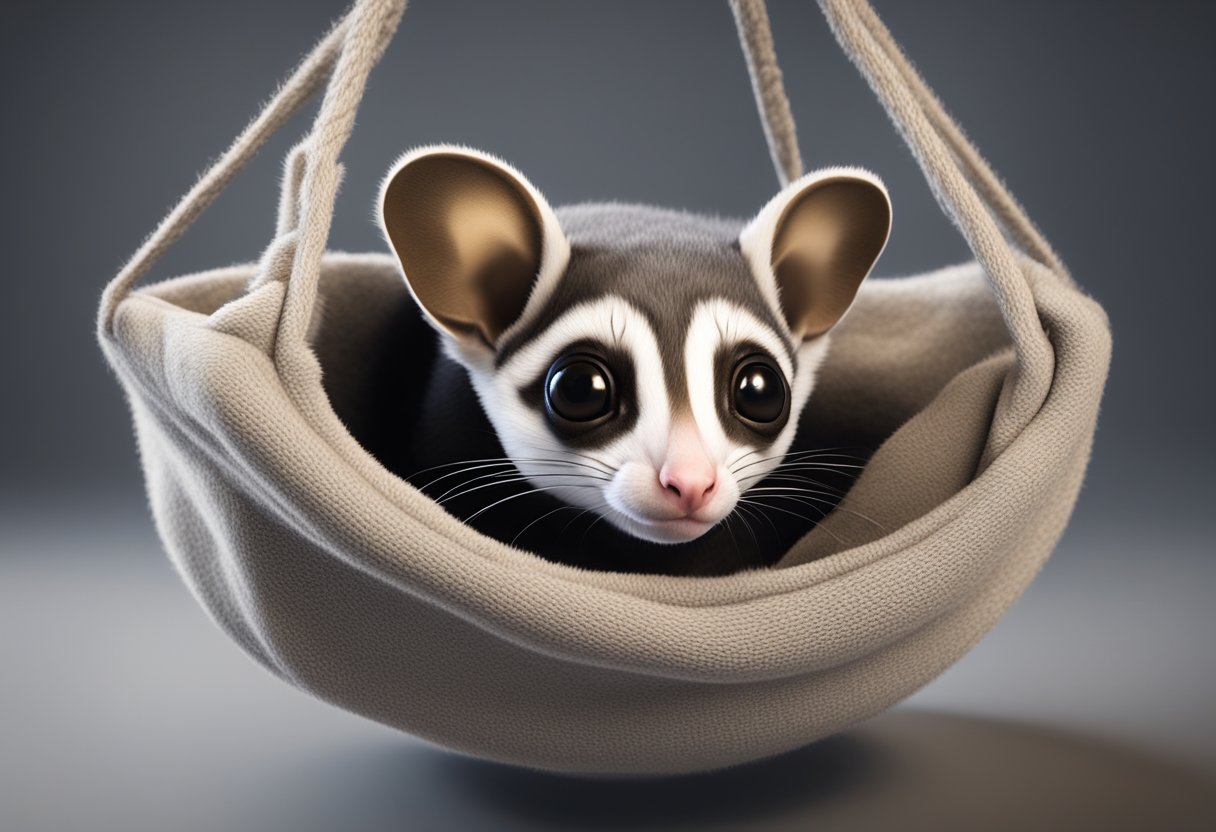
Sugar gliders, the adorable and agile marsupials, have a natural inclination for seeking out cozy nesting pouches or sleeping environments. These social and active creatures require a secure and comfortable space to rest and recharge, and a homemade sugar glider bed can provide them with the ideal sleeping sanctuary.
Understanding Sugar Glider Sleep Habits
Sugar gliders are polyphasic sleepers, meaning they engage in multiple sleep-wake cycles throughout the day and night. They are most active during the evening and nighttime hours, and they require ample opportunities to rest and recuperate. A well-designed sleep pouch can help sugar gliders feel safe, warm, and undisturbed, promoting healthy sleep patterns and overall well-being.
Benefits of a Homemade Sugar Glider Bed
By creating a custom-made sleep pouch for your sugar glider, you can provide them with a range of benefits that contribute to their overall happiness and comfort. A homemade sugar glider bed can offer the following advantages:
- Security and Comfort: A cozy and enclosed pouch can help your sugar glider feel secure, mimicking the natural nesting behaviors they would exhibit in the wild.
- Temperature Regulation: The right fabric and design can help maintain an optimal temperature for your sugar glider’s sleeping environment, keeping them warm and cozy.
- Personalization: Designing a custom pouch allows you to incorporate your sugar glider’s favorite colors, patterns, or even their scent, creating a familiar and inviting space.
- Accessibility: A well-placed and easily accessible sleep pouch can encourage your sugar glider to use it regularly, ensuring they have a dedicated sleeping area.
By understanding the importance of a nesting pouch and the benefits it can provide, you’ll be better equipped to create a sleep environment that meets your sugar glider’s unique needs and preferences.
Step-by-Step Guide to Sewing a Sugar Glider Sleep Pouch
Creating a cozy and comfortable sleep pouch for your sugar glider is a rewarding DIY project that can greatly enhance their living environment. In this section, we’ll provide you with a detailed, step-by-step guide on how to sew a custom-made sleep sack that perfectly suits your furry companion’s needs.
Cutting the Fabric for Your DIY Sugar Glider Pouch
The first step in sewing a sugar glider sleep pouch is to prepare the fabric. Start by measuring your sugar glider’s size and selecting a soft, breathable fabric like fleece or cotton. Cut the fabric according to the desired size and shape, ensuring ample room for your sugar glider to move and nest comfortably. Remember to account for seam allowances when cutting the fabric pieces.
Assembling the Sugar Glider Sleeping Bag
With the fabric pieces cut, it’s time to begin the sewing process. Lay the pieces out and pin them together, then use a sewing machine to stitch the seams. Be mindful of reinforcing any areas that may experience more wear and tear, such as the opening or the base of the pouch. Once the main body of the sleep pouch is sewn, you can add any desired decorative elements or personalized touches to make it truly unique for your sugar glider.
By following these step-by-step instructions, you’ll be able to create a cozy and customized sleep pouch that your sugar glider will love. Providing a secure and comfortable sleeping environment is crucial for their overall well-being, and this DIY project is an affordable and rewarding way to do so.
Ensuring a Safe and Comfortable Sleep Environment
Providing a safe and comfortable sleep environment is crucial for your sugar glider’s well-being. When it comes to choosing the right pouch size, it’s essential to consider your sugar glider’s age, size, and individual needs. By selecting the appropriate dimensions, you can ensure your furry friend has ample space to move around, nest, and feel secure during their slumber.
Choosing the Right Pouch Size for Your Sugar Glider
The size of the sleep pouch should be tailored to your sugar glider’s specific requirements. As a general guideline, the pouch should be large enough for your sugar glider to comfortably turn around, stretch out, and curl up without feeling cramped. It’s important to avoid a pouch that is too spacious, as this can make your sugar glider feel insecure and less inclined to use it.
When measuring for the perfect pouch size, take into account your sugar glider’s length, from the tip of their nose to the base of their tail, and add an additional 2-3 inches to allow for movement and growth. The width of the pouch should be just slightly wider than your sugar glider’s body, ensuring they can move freely without feeling confined.
| Sugar Glider Size | Recommended Pouch Dimensions |
|---|---|
| Small (under 6 inches) | 8 inches long x 6 inches wide |
| Medium (6-8 inches) | 10 inches long x 8 inches wide |
| Large (over 8 inches) | 12 inches long x 10 inches wide |
By selecting the appropriate pouch size, you can create a cozy and secure sleeping environment that allows your sugar glider to rest comfortably and feel at ease in their surroundings.
Cleaning and Maintaining Your Sugar Glider’s Cuddle Pouch
Ensuring your sugar glider’s sleep pouch remains clean and well-maintained is essential for their health and comfort. Regular cleaning not only keeps the pouch fresh but also helps prevent the buildup of odors, bacteria, and potential skin irritations. By following these simple steps, you can keep your sugar glider’s cozy cuddle pouch in top condition.
Washing Instructions for Sugar Glider Bedding
When it comes to washing your sugar glider’s sleep pouch, it’s important to use a gentle, fragrance-free detergent and warm water. Avoid using harsh chemicals or bleach, as these can be harmful to your furry friend. Gently hand-wash the pouch or use a delicate cycle in your washing machine, taking care not to over-agitate the fabric. Allow the pouch to air dry completely before placing it back in your sugar glider’s enclosure.
It’s recommended to wash the pouch every 1-2 weeks, or as needed, to keep it clean and hygienic. Be mindful of any visible soiling or odors, as these may indicate a more frequent cleaning is required.
Signs That It’s Time to Replace the Pouch
While proper cleaning and maintenance can extend the life of your sugar glider’s sleep pouch, there may come a time when it needs to be replaced. Look for signs of wear and tear, such as fraying, holes, or excessive pilling, which can compromise the pouch’s structural integrity and comfort. Additionally, if the pouch has become stained or has a persistent odor that cannot be removed through washing, it’s best to consider a replacement.
Replacing the pouch every 6-12 months, or as needed, can help ensure your sugar glider has a cozy and hygienic sleeping environment. By staying on top of cleaning and monitoring the condition of the pouch, you can provide your furry companion with a safe and comfortable place to rest and recharge.
Decorating and Personalizing Your Homemade Sugar Glider Pouch
Creating a homemade sugar glider sleep pouch is not just about providing a cozy and functional sleeping environment for your furry friend. It’s also an opportunity to showcase your creativity and make the pouch a reflection of your sugar glider’s unique personality. In this section, we’ll explore the exciting possibilities of decorating and personalizing your handmade sugar glider nesting pouch.
One way to add a touch of personalization to your sugar glider cuddle pouch is by incorporating your sugar glider’s favorite colors. Whether it’s vibrant hues or soft, soothing tones, choosing fabrics that complement your pet’s preferences can make the sugar glider snuggle sack feel even more inviting and familiar. You can also consider adding playful patterns, such as polka dots, stripes, or whimsical designs, to create a visually appealing and engaging sugar glider sleeping bag.
If you’re feeling creative, you can take the personalization a step further by adding embroidered designs or appliqués to your homemade sugar glider bed. This allows you to incorporate your sugar glider’s name, favorite motifs, or even small illustrations that capture their unique character. Not only will this make the cozy sugar glider hideaway more distinctive, but it can also serve as a heartwarming reminder of your bond with your furry companion.
Regardless of the decorative approach you choose, the key is to create a sugar glider cuddle pouch that not only meets your sugar glider’s needs but also reflects your personal style and the love you have for your pet. By personalizing the sugar glider bedding, you’ll be making your sugar glider’s sleeping space even more inviting and comfortable, encouraging them to feel at home and secure in their diy sugar glider pouch.
Troubleshooting Common Issues with Sugar Glider Sleep Pouches
As dedicated sugar glider owners, we understand the importance of providing a comfortable and secure sleeping environment for our furry friends. However, occasionally, you may encounter a few common challenges when it comes to your sugar glider’s sleep pouch. In this section, we’ll address these issues and provide practical solutions to help keep your sugar glider’s cuddle pouch a cozy and safe haven.
Dealing with Sugar Gliders Chewing on the Pouch
Sugar gliders are natural chewers, and they may sometimes find themselves drawn to the fabric of their sleep pouch. This can be a frustrating issue, but there are ways to discourage this behavior. Consider using a tougher, more durable fabric, such as a cotton-blend or a fabric specifically designed to withstand chewing. You can also try spraying the pouch with a pet-safe, bitter-tasting spray to make it less appealing to your sugar glider’s curious teeth.
Keeping the Pouch Secure and Preventing Escapes
Ensuring the sleep pouch remains securely in place is crucial to prevent your sugar glider from escaping and potentially getting lost or injured. Carefully sew the pouch onto the side of the cage or attach it using strong clips or Velcro. Additionally, be mindful of any small openings or gaps that your sugar glider could squeeze through, and take steps to seal them off. Regularly check the pouch for any signs of wear or damage that could compromise its security.
By addressing these common issues and taking proactive measures to maintain the safety and comfort of your sugar glider’s sleep pouch, you can help create a cozy and inviting sleeping environment that your furry companion will love.
Frequently Asked Questions About Sugar Glider Sleep Pouches
When it comes to providing a comfortable and secure sleeping environment for your sugar glider, you may have a few questions. In this section, we’ll address some of the most frequently asked inquiries to help you create the perfect sugar glider sleep pouch for your furry companion.
What is the best material to use for a sugar glider nesting pouch? The ideal fabric for a sugar glider sleep sack is soft, breathable, and durable, such as fleece or cotton. These materials will ensure your sugar glider’s comfort and safety while they rest.
How big should a homemade sugar glider bed be? The size of the sugar glider cuddle pouch should be proportional to your sugar glider’s size, allowing them to move around comfortably without feeling confined. As a general guideline, the pouch should be just large enough for your sugar glider to curl up and snuggle inside.
How often should I wash the sugar glider snuggle sack? To maintain a clean and hygienic sugar glider sleeping bag, it’s recommended to wash the pouch every one to two weeks, or as needed. Use a gentle detergent and avoid fabric softeners, which can irritate your sugar glider’s skin.
Are there any safety concerns with a sugar glider bedding pouch? When creating a cozy sugar glider hideaway, be mindful of any loose threads or small parts that could pose a choking hazard. Ensure the pouch is securely attached to your sugar glider’s enclosure and check it regularly for any signs of wear or damage.
| Common Questions | Answers |
|---|---|
| What is the best fabric for a sugar glider sleep pouch? | Soft, breathable, and durable fabrics such as fleece or cotton are ideal for a sugar glider sleep pouch. |
| How big should a sugar glider sleeping bag be? | The size of the pouch should be proportional to your sugar glider’s size, allowing them to move around comfortably. |
| How often should I wash the sugar glider cuddle pouch? | It’s recommended to wash the pouch every one to two weeks, or as needed, using a gentle detergent. |
| Are there any safety concerns with a sugar glider sleeping environment? | Be mindful of any loose threads or small parts that could pose a choking hazard, and check the pouch regularly for signs of wear or damage. |
Alternative Options for Sugar Glider Bedding
While creating a homemade sleep pouch can be a rewarding DIY project, there are also alternative options available for sugar glider bedding. Let’s explore some of these alternatives to help you determine the best sleeping solution for your furry friend.
Commercially Available Sugar Glider Pouches
For those who prefer a more convenient option, there are various commercially available sugar glider pouches on the market. These pre-made pouches come in a variety of materials, designs, and sizes to cater to the specific needs of your sugar glider. Many of these pouches are made from soft, breathable fabrics and offer features like adjustable openings, hanging capabilities, and even built-in hideaways. Purchasing a ready-made pouch can save time and ensure a cozy, secure sleeping environment for your sugar glider.
DIY Sugar Glider Nest Boxes
Another alternative to the traditional sleep pouch is a DIY sugar glider nest box. These custom-built enclosures provide a larger, more structured sleeping space for your sugar glider, allowing them to nest and burrow as they would in their natural habitat. Nest boxes can be constructed from materials like wood, wire mesh, and even repurposed household items, and can be tailored to accommodate the size and number of sugar gliders in your care. While a bit more involved than sewing a sleep pouch, creating a DIY nest box can be a rewarding project and offer your sugar glider a truly unique and comfortable sleeping environment.
Whether you choose to make a homemade sleep pouch, opt for a commercially available option, or create a custom nest box, the key is to provide your sugar glider with a safe, cozy, and secure sleeping space that caters to their natural instincts and preferences. By exploring the diverse range of sugar glider bedding alternatives, you can find the perfect solution to ensure your furry companion’s rest and well-being.
Conclusion
As we conclude this comprehensive guide on making a sugar glider sleep pouch, we hope you’ve gained a deeper understanding of the importance of providing your furry companion with a cozy and secure sleeping environment. A well-crafted homemade sleep pouch can greatly contribute to the overall well-being and comfort of your sugar glider.
Throughout this article, we’ve covered the essential materials needed, the benefits of a custom-made sugar glider nesting pouch, and detailed step-by-step instructions on how to sew the perfect sleep sack. We’ve also addressed the importance of ensuring the right pouch size, maintaining cleanliness, and troubleshooting common issues that may arise.
By following the guidance provided in this guide, you can create a personalized and inviting sleep pouch that will allow your sugar glider to rest and recharge in a space that feels familiar and comforting. Remember, a happy and well-rested sugar glider is a thriving sugar glider, and your efforts in providing a cozy sleeping environment will be greatly appreciated by your furry friend.
